
C/C++开发,无可避免的多线程(篇四).实现自己的线程封装类
一、c++11以前的线程封装版本
在本专栏的多线程课题第一篇就说过,c++11前实现多线程事务是由调用的
现在通过
1)MyThread可以被继承,具有run线程函数,该函数为虚函数,可以被派生类重写
2)线程类启动start、停止stop的成员函数,可以管理线程线程函数运行或退出(run函数)能力
3)可以获得线程的状态、线程编号相关信息。
1.1 mythread_c98实现设计
为此,本博文创建mythread_c98.h头文件,设计该线程类MyThread内容如下:
#ifndef _MYTHREAD_C98_H_
#define _MYTHREAD_C98_H_#include     //pthread_t
#include      //usleepclass MyThread
{
public:// constructed functionMyThread();virtual ~MyThread();//the entity for thread runningvirtual int run()=0;//start threadbool start();//wait for thread end in limit time(ms)void stop(unsigned long millisecondTime=0);//get thread statusint state();//gte thread IDpthread_t getThreadID();
private://current thread IDpthread_t tid;//thread statusenum THREAD_STATUS{THREAD_STATUS_NEW       = 0,      //threadStatus-new createTHREAD_STATUS_RUNNING   = 1,  //threadStatus-runningTHREAD_STATUS_EXIT      = -1     //threadStatus-end};THREAD_STATUS threadStatus;//get manner pointer of execution static void* run0(void* pVoid);//manner of execution insidevoid* run1();//thread endvoid join();
};#endif /* _MYTHREAD_C98_H_*/
线程类通过一个枚举THREAD_STATUS设置线程的开启、运行、结束三个状态。start函数会调用pthread_create新创建一个线程,并调用run函数,而stop函数会调用pthread_join停止线程,线程类析构函数则调用pthread_exit来让线程销毁,具体实现如下:
#include "myThread_c98.h"#include void* MyThread::run0(void* pVoid)
{MyThread* p = (MyThread*) pVoid;p->run1();return p;
}void* MyThread::run1()
{threadStatus = MyThread::THREAD_STATUS_RUNNING;tid = pthread_self();printf("thread is run, tid(%d)!\n",tid);this->run();return NULL;
}MyThread::MyThread()
{tid = 0;threadStatus = MyThread::THREAD_STATUS_NEW;
}MyThread::~MyThread()
{printf("thread is ~MyThread!\n");threadStatus = MyThread::THREAD_STATUS_EXIT;tid = 0;pthread_exit(NULL);
}int MyThread::run()
{while( MyThread::THREAD_STATUS_RUNNING == threadStatus ){printf("thread is running!\n");sleep(10);}return 0;
}bool MyThread::start()
{return pthread_create(&tid, NULL, run0, this) == 0;
}pthread_t MyThread::getThreadID()
{return tid;
}int MyThread::state()
{return (int)threadStatus;
}void MyThread::join()
{threadStatus = MyThread::THREAD_STATUS_EXIT;if (tid > 0){void * pth_join_ret = NULL;int ret = pthread_join(tid, &pth_join_ret);printf("thread is join, tid(%d)!\n",tid);if(0!=ret)printf("pthread_join tid(%d) error:%s\n",(char*)pth_join_ret);pthread_cancel(tid);tid = 0;}
}
//等待millisecondTime(ms)后关闭线程
void MyThread::stop(unsigned long millisecondTime)
{if (tid == 0){return;}else{printf("thread is join tid(%d) for time(%lu)!\n",tid,millisecondTime);unsigned long k = 0;while (k < millisecondTime){usleep(1000);//等待1毫秒k++;}join();}
}
PS,pthread_exit一般是子线程调用,用来结束当前线程,一般在该线程中自己调用退出采用pthread_exit函数;pthread_join一般是主线程来调用,用来等待子线程退出,因为是等待,所以是阻塞的。外部线程调用该线程做退出处理,采用pthread_join函数来实现。
1.2 MyThread派生类-真正业务实现
因为MyThread的run函数是虚函数,因此不能直接使用MyThread创建线程对象,而是需要先创建MyThread类的派生类,通过派生类重新实现run函数(即实际任务实现),再通过派生构建线程对象来使用。
下来看看如何应用MyThread线程类。创建test1.h、test1.cpp源文件,创建MyThread类的派生类MyThreadTest如下:
//test1.h
#ifndef _TEST_1_H_
#define _TEST_1_H_
#include "mythread_c98.h"class MyThreadTest : public MyThread
{
public:int run();
};
#endif
//test1.cpp
#include "test1.h"
#include int MyThreadTest::run()
{int index_test = 0;while (1==this->state()){printf("MyThreadTest is %d running!\n",++index_test);usleep(1000);}return 0;
};
派生类MyThreadTest仅仅是重写了run函数,这里的任务是没间隔1毫秒打印一句文字。
1.3 线程类调用测试
然后将在main.cpp函数中使用该派生类。
//main.cpp
#include "test1.h"
#include int main(int argc, char* argv[])
{MyThreadTest th;th.start();th.stop(10);sleep(1);th.start();th.stop(10);printf("main is finish!\n");return 0;
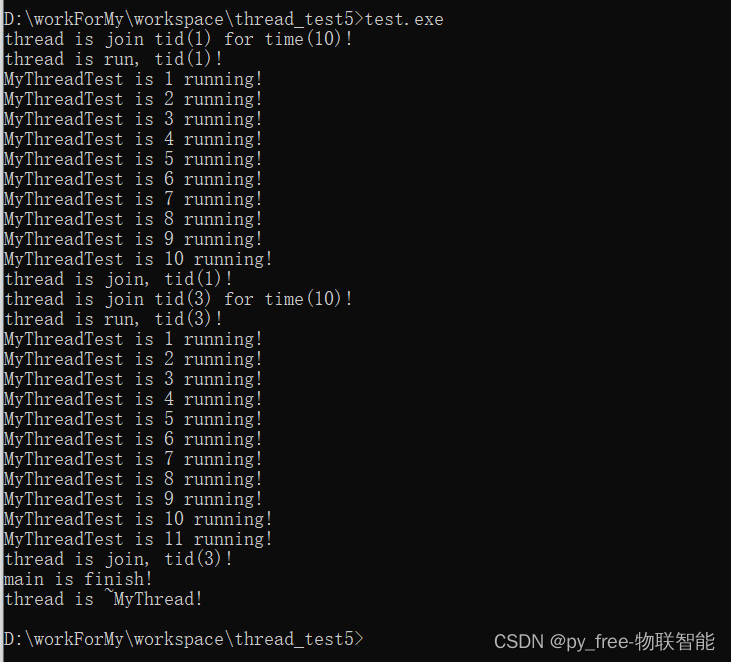
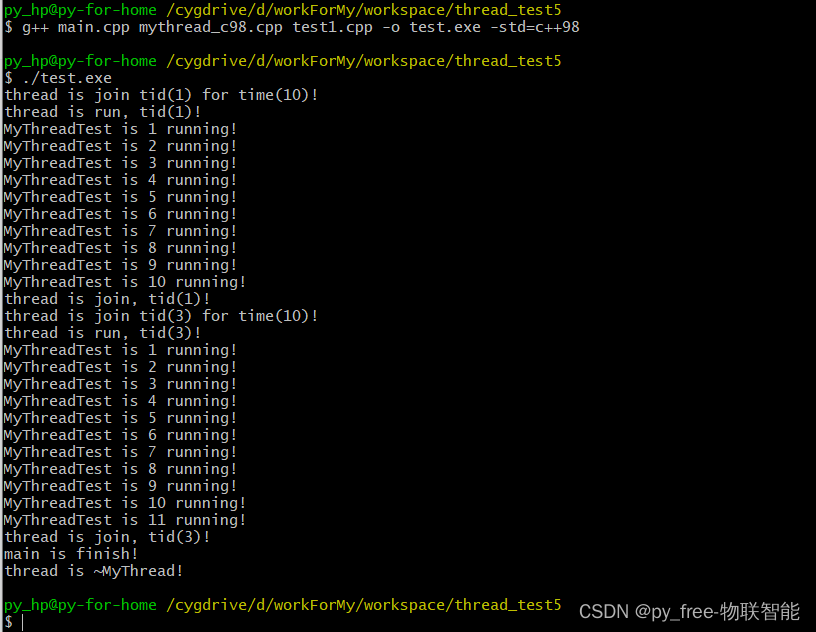
}; 上述这段代码,实现了线程两次启停测试,每次是一旦启动start后,立刻调用stop去延时10毫秒结束线程,前后两次测试等待了1秒时间。现在编译测试一下(相关编译环境搭建可以看参看前面博文:C/C++开发,无可避免的多线程(篇一).跨平台并行编程姗姗来迟_py_free-物联智能的博客-CSDN博客),首选是win下,采用的MinGW编译工具,编译时特别指定了采用c++98标准,g++ main.cpp mythread_c98.cpp test1.cpp -o test.exe -std=c++98,是正确达成期望的运行结果:
然后也在Linux编译环境测试了一下,本博文采用的是cygwin64编译工具,同样达到一样的效果。
有了上述这个线程封装类,在很多小项目编程中就可以直接采用它派生一个子类,将要实现的业务在run重写,需要的话,可以通过线程状态和子类成员变量共同判断循环条件,就可以快速实现自己的多线程了。另外使用完该线程,也直接析构也达到停止及退出循环。
二、c++11后的线程封装版本
2.1 mythread_c11线程实现
下来采用c++11标准库里的线程支持库来实现和上面示例代码基本一致的功能。为了和前面保持一致,先将前面的mythread_c98.h和mythread_c98.cpp拷贝一份,重命名为mythread_c11.h和mythread_c11.cpp源文件,mythread_c11.h调整内容如下,就做了三处微调,代码中已经标注出来:
#ifndef _MYTHREAD_C11_H_
#define _MYTHREAD_C11_H_#include        //std::thread,c11时调整部分
#include      //usleepclass MyThread
{
public:// constructed functionMyThread();virtual ~MyThread();//the entity for thread runningvirtual int run()=0;//start threadbool start();//wait for thread end in limit time(ms)void stop(unsigned long millisecondTime=0);//get thread statusint state();//gte thread IDstd::thread::id getThreadID(); //c11时调整部分
private://current thread IDstd::thread* tid;           //c11时调整部分//thread statusenum THREAD_STATUS{THREAD_STATUS_NEW       = 0,     //threadStatus-new createTHREAD_STATUS_RUNNING   = 1,     //threadStatus-runningTHREAD_STATUS_EXIT      = -1     //threadStatus-end};THREAD_STATUS threadStatus;//get manner pointer of execution static void* run0(void* pVoid);//manner of execution insidevoid* run1();//thread endvoid join();
};#endif /* _MYTHREAD_C11_H_ */
然后再来看线程类的实现部分,无非就是将 c++98支持的pthread_create、pthread_join、pthread_exit等功能函数替换成c++11的std::thread来实现。
#include "myThread_c11.h"#include void* MyThread::run0(void* pVoid)
{MyThread* p = (MyThread*) pVoid;p->run1();return p;
}void* MyThread::run1()
{threadStatus = MyThread::THREAD_STATUS_RUNNING;printf("thread is run, tid(%d)!\n",tid->get_id());this->run();return NULL;
}MyThread::MyThread()
{tid = nullptr;threadStatus = MyThread::THREAD_STATUS_NEW;
}MyThread::~MyThread()
{printf("thread is ~MyThread!\n");threadStatus = MyThread::THREAD_STATUS_EXIT;delete tid;tid = nullptr;
}int MyThread::run()
{while( MyThread::THREAD_STATUS_RUNNING == threadStatus ){printf("thread is running!\n");sleep(10);}return 0;
}bool MyThread::start()
{tid = new std::thread(run0,this);return (nullptr!=tid);
}std::thread::id MyThread::getThreadID()
{if(nullptr==tid)return std::thread::id();return tid->get_id();
}int MyThread::state()
{return (int)threadStatus;
}void MyThread::join()
{threadStatus = MyThread::THREAD_STATUS_EXIT;if (nullptr!=tid){tid->join();delete tid;tid = nullptr;}
}
//等待millisecondTime(ms)后关闭线程
void MyThread::stop(unsigned long millisecondTime)
{if (tid == 0){return;}else{printf("thread is join tid(%d) for time(%lu)!\n",tid->get_id(),millisecondTime);unsigned long k = 0;while (k < millisecondTime){usleep(1000);//等待1毫秒k++;}join();}
}
上述代码相对c++98的实现几乎没什么变化,就是原来涉及到pthread_create、pthread_join、pthread_exit的start函数、析构函数、join函数做了调整,原来tid是采用0来初始赋值的,现在转用了c++11支持的nullptr,其他地方几乎保持不变,打印输出的线程id通过std::thread的成员函数tid->get_id()来实现。
2.2 mythread_c11线程调用测试
然后再看调用方面,还是采用前面的派生类及调用例子,test1.h和test1.cpp,就仅仅需要修改一下test1.h对头文件的引用,其他保持不变:
//test1.h
#ifndef _TEST_1_H_
#define _TEST_1_H_
//#include "mythread_c98.h"//注释
#include "mythread_c11.h"//采用c++11的实现class MyThreadTest : public MyThread
{
public:int run();
};
#endif
//test1.cpp
#include "test1.h"
#include int MyThreadTest::run()
{int index_test = 0;while (1==this->state()){printf("MyThreadTest is %d running!\n",++index_test);usleep(1000);}return 0;
};
测试调用代码main.cpp全部不变:
#include "test1.h"
#include int main(int argc, char* argv[])
{MyThreadTest th;th.start();th.stop(10);sleep(1);th.start();th.stop(10);printf("main is finish!\n");return 0;
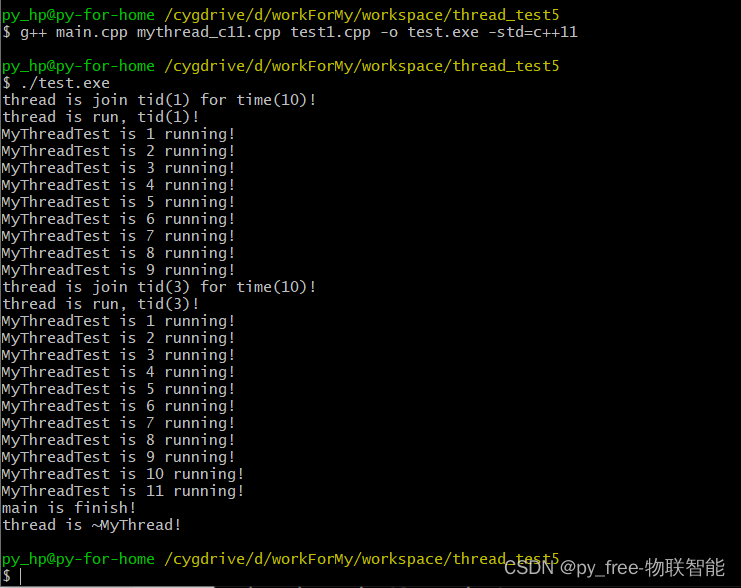
}; 编译指令:g++ main.cpp mythread_c11.cpp test1.cpp -o test.exe -std=c++11,运行测试成如下,同样达到目的,咋不说,使用的人根本不知道内部做了调整:

同样linux编译环境也测试一下,OK:
其实上述代码还可以进一步优化,枚举类型的线程状态毕竟涉及到本线程及可能外部线程调用,因此如果采用原子类型std::atomic来表述也不错的,可以解决几乎不会触发的线程数据安全问题。
三、合而为一
很多时候,在实际项目中,有些模板使用c++98标准库,有些模块使用c++11以上标准库,虽然说支持c++98的在c++11编译环境也是OK的:g++ main.cpp mythread_c98.cpp test1.cpp -o test.exe -std=c++11。但是如此相似的两个线程类版本,是很容易合并在一起的,通过宏编译条件,c++98和c++11两不误。
3.1 mythread混合版本实现
再次拷贝一份mythread_c98.h、mythread_c98.cpp并重命名为mythread.h、mythread.cpp源文件,然后根据__cplusplus宏进行条件编译设置:
mythread.h内容如下,和前面c98、c11的相比,就是根据__cplusplus宏定义一些c98、c11编译环境下归一化别名:
#ifndef _MYTHREAD_H_
#define _MYTHREAD_H_#if __cplusplus < 201103L
#include         //pthread_t
#define nullptr 0
typedef pthread_t ThreadID;
typedef pthread_t RThreadID;
#else
#include            //std::thread,c11时调整部分
typedef std::thread* ThreadID;
typedef std::thread::id RThreadID;
#endif
#include          //usleepclass MyThread
{
public:// constructed functionMyThread();virtual ~MyThread();//the entity for thread runningvirtual int run()=0;//start threadbool start();//wait for thread end in limit time(ms)void stop(unsigned long millisecondTime=0);//get thread statusint state();//get thread IDRThreadID getThreadID();    //调整
private://current thread IDThreadID tid;        //调整//thread statusenum THREAD_STATUS{THREAD_STATUS_NEW       = 0,      //threadStatus-new createTHREAD_STATUS_RUNNING   = 1,  //threadStatus-runningTHREAD_STATUS_EXIT      = -1     //threadStatus-end};THREAD_STATUS threadStatus;//get manner pointer of execution static void* run0(void* pVoid);//manner of execution insidevoid* run1();//thread endvoid join();
};
mythread.cpp,定义文件内容可能会麻烦一下,需要将根据宏条件改写c98和c11不同之处的代码,但前面都曾实现过,仅仅麻烦下,倒不难。
#include "myThread.h"#include void* MyThread::run0(void* pVoid)
{MyThread* p = (MyThread*) pVoid;p->run1();return p;
}void* MyThread::run1()
{threadStatus = MyThread::THREAD_STATUS_RUNNING;#if __cplusplus < 201103Ltid = pthread_self();printf("thread is run, tid(%d)!\n",tid);#elseprintf("thread is run, tid(%d)!\n",tid->get_id());#endifthis->run();return nullptr;
}MyThread::MyThread()
{tid = nullptr;threadStatus = MyThread::THREAD_STATUS_NEW;
}MyThread::~MyThread()
{printf("thread is ~MyThread!\n");threadStatus = MyThread::THREAD_STATUS_EXIT;#if __cplusplus < 201103Lpthread_exit(NULL);#elsedelete tid;#endiftid = nullptr;
}int MyThread::run()
{while( MyThread::THREAD_STATUS_RUNNING == threadStatus ){printf("thread is running!\n");sleep(10);}return 0;
}bool MyThread::start()
{#if __cplusplus < 201103Lreturn pthread_create(&tid, NULL, run0, this) == nullptr;#elsereturn (nullptr!=(tid = new std::thread(run0,this)));#endif}RThreadID MyThread::getThreadID()
{#if __cplusplus < 201103Lreturn tid;#elsereturn (nullptr==tid)?std::thread::id():tid->get_id();#endif
}int MyThread::state()
{return (int)threadStatus;
}void MyThread::join()
{threadStatus = MyThread::THREAD_STATUS_EXIT;if (nullptr!=tid){#if __cplusplus < 201103Lint ret = pthread_join(tid, nullptr);pthread_cancel(tid);#elsetid->join();delete tid;#endiftid = nullptr;}
}
//等待millisecondTime(ms)后关闭线程
void MyThread::stop(unsigned long millisecondTime)
{if (nullptr == tid){return;}else{#if __cplusplus < 201103Lprintf("thread is join tid(%d) for time(%lu)!\n",tid,millisecondTime);#elseprintf("thread is join tid(%d) for time(%lu)!\n",tid->get_id(),millisecondTime);#endifunsigned long k = 0;while (k < millisecondTime){usleep(1000);//等待1毫秒k++;}join();}
}
这样就达成了c++98和c++11标准库版本下的统一。
3.2 混合版本调用及编译测试
还是利用前面的测试例子进行测试一下,调整test1.h的头文件应用,其保持不变:
//test1.h
#ifndef _TEST_1_H_
#define _TEST_1_H_
// #include "mythread_c98.h"
// #include "mythread_c11.h"
#include "mythread.h"class MyThreadTest : public MyThread
{
public:int run();
};
#endif
//test1.cpp
#include "test1.h"
#include int MyThreadTest::run()
{int index_test = 0;while (1==this->state()){printf("MyThreadTest is %d running!\n",++index_test);usleep(1000);}return 0;
};
线程的调用在main.cpp内,保持原来一致,也不需要作出任何调整:
#include "test1.h"
#include int main(int argc, char* argv[])
{MyThreadTest th;th.start();th.stop(10);sleep(1);th.start();th.stop(10);printf("main is finish!\n");return 0;
};
再次编译,可以指定标准库版本,也可以不指定,都能得到正确编译结果:
1)g++ main.cpp mythread.cpp test1.cpp -o test.exe -std=c++98
2)g++ main.cpp mythread.cpp test1.cpp -o test.exe -std=c++11
3)g++ main.cpp mythread.cpp test1.cpp -o test.exe
运行编译输出程序:
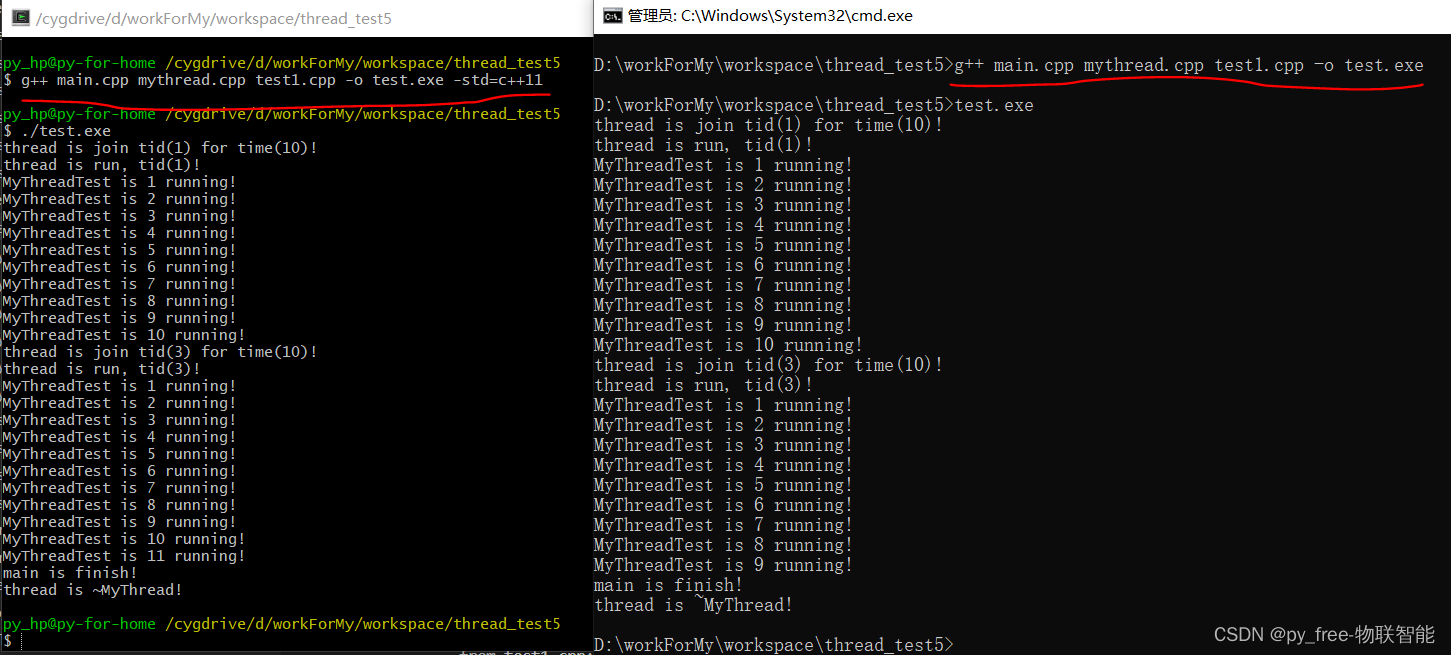
这样一个基本的满足c++98、c++11标准库混合编译环境的线程类就做好了,在一般小型项目内,通过继承它,做一些简要调整就能快速应用多多线程开发中。